
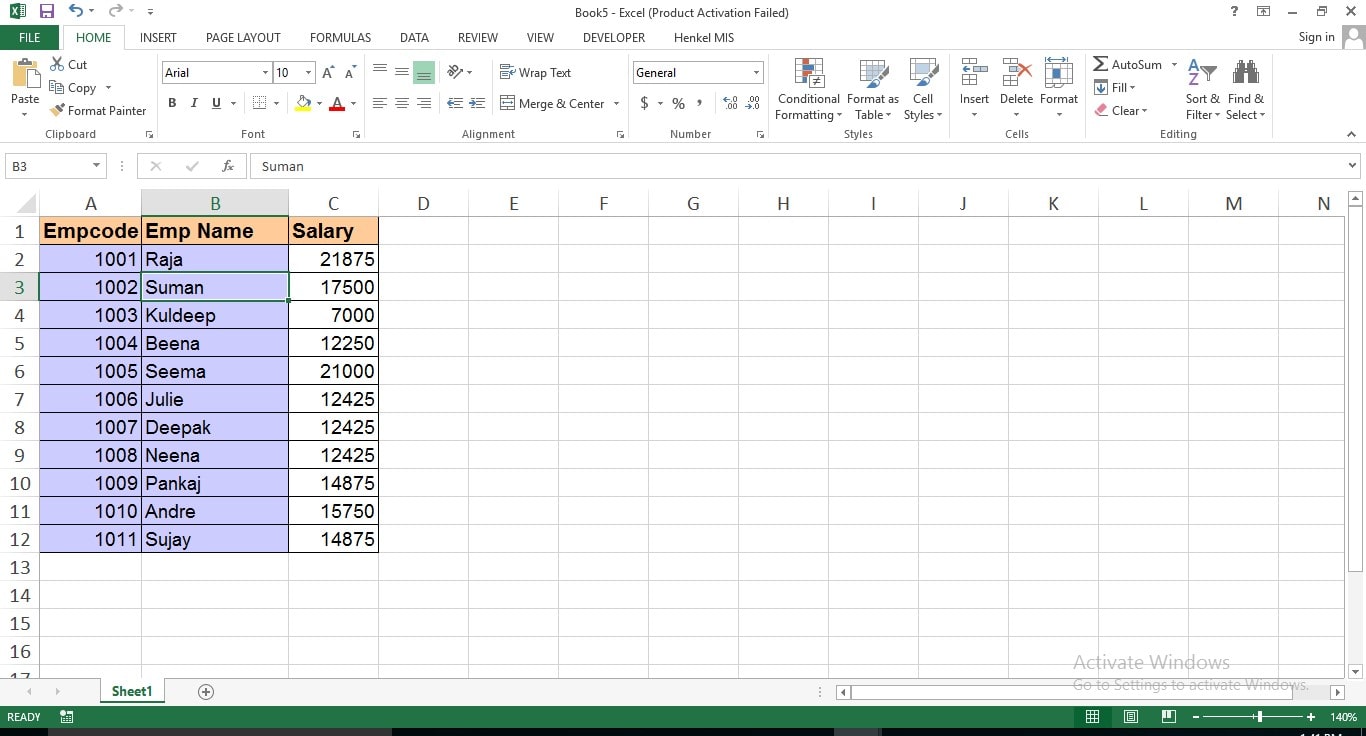
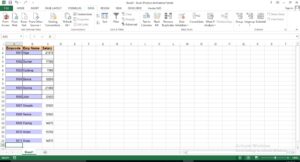
Inserting Rows & Columns in an Excel spreadsheet is a common thing but in few cases, we need to insert alternative blank rows. We may think Macro is the only solution for this but this job can be done without Macro programing. See the data in the following pic where we need to insert alternate blank rows.
No need to write any Macro code for this. Following are the required steps to insert alternative blank rows.
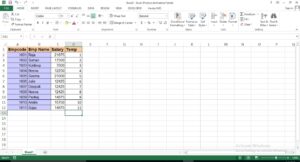
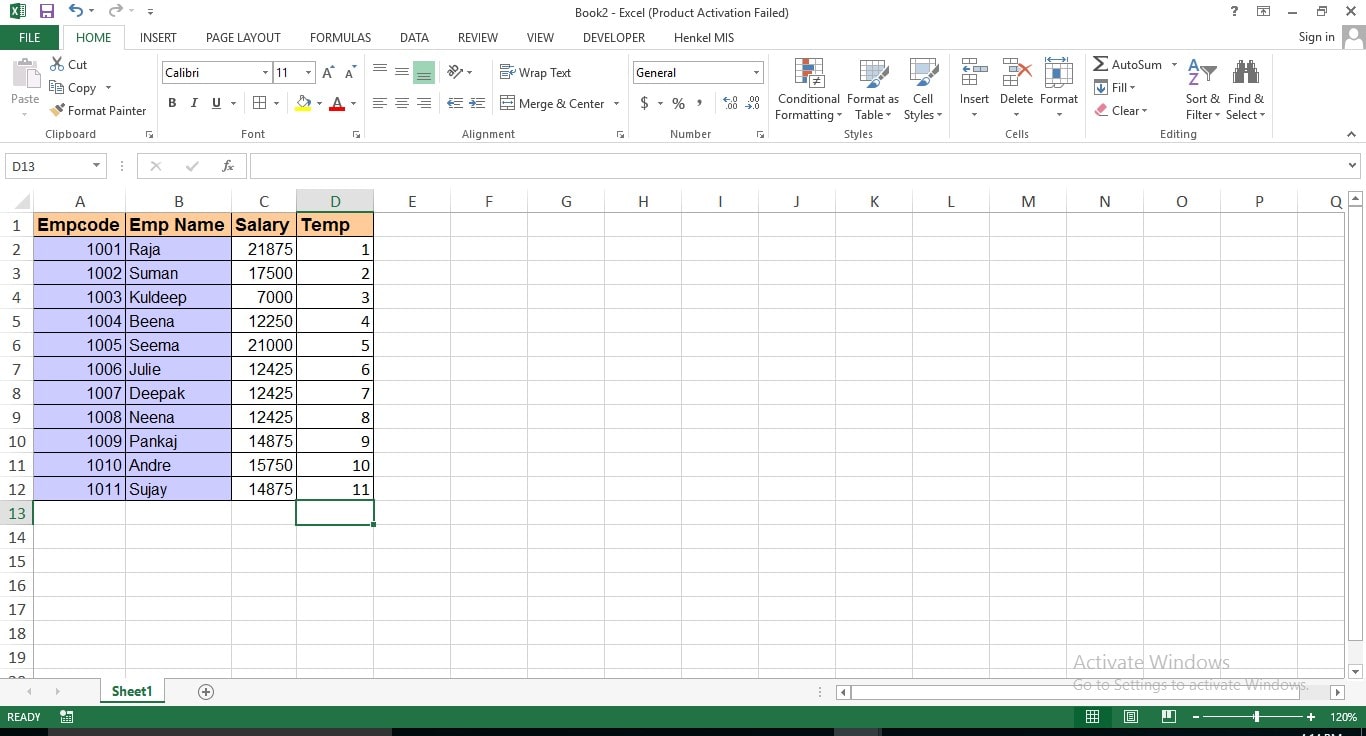
- Insert an extra column after the last column, extra column name can be anything, refer to the following pic for this.
- Fill extra column with numbers from 1 to to 11 till the last cell of the entered data of the Temp field.
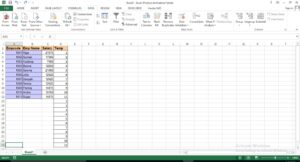
- Then copy all numbers from D2:D12 and paste after the last filled cell on the same column, i.e. on D13, refer to the following pic for this.
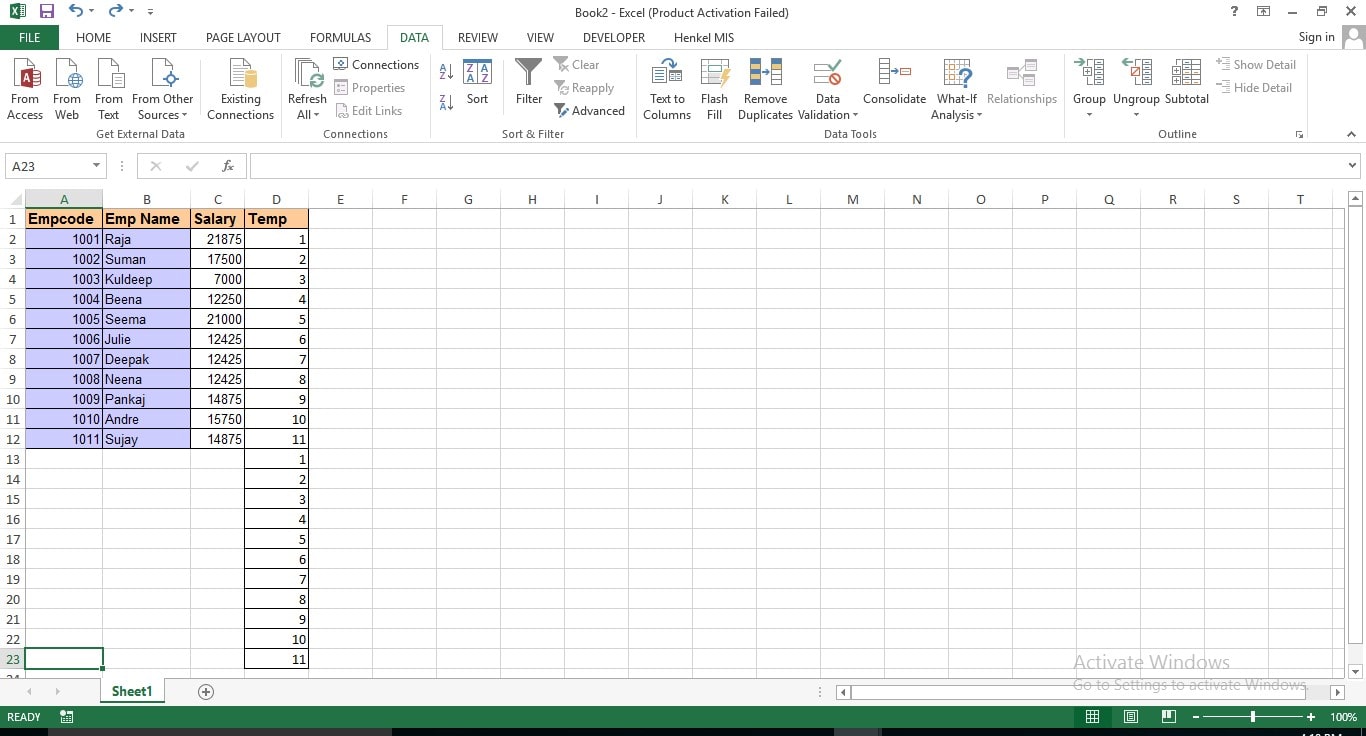
- Then place your cell position anywhere in the Temp column(last column) and click on the Sort icon(A to Z or Z to A) by going to the Data tab ->Sort & Filter group on the ribbon.
- After clicking on the Sort icon Excel Sheet will look like this
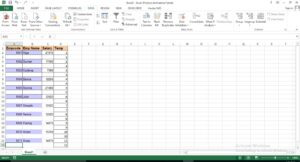
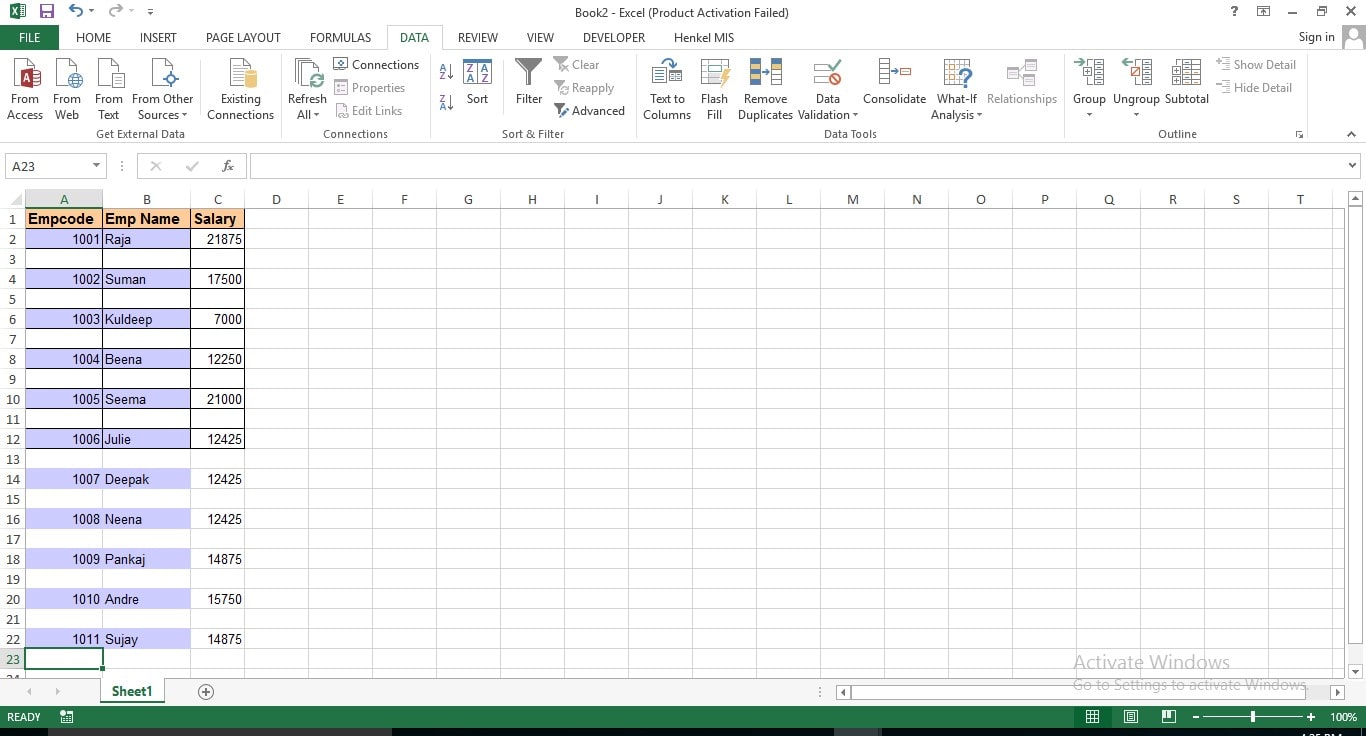
- Then delete the unwanted column, i.e. last column(Temp). Refer to the following pic where data is having alternative blank rows.


